Raspberry Pi Offsite Backup Build
My backup strategy has varied through the years but has always incorporated duplication, at least of my critical data. On top of my current local backup drives, I’ve finally been able to setup a remote machine for offsite backups. I use a Raspberry Pi and a LUKS encrypted drive connected to my network over a VPN. Rsync is used as needed to run backup jobs to the remote site. For the time being, I want manual control over the process and have not automated the backup process. When I want to make a remote backup; I ssh into the Pi, decrypt and mount the drive, run rysnc, unmount and re-encrypt the drive, and I’m done. I generate so little data every month that the backup process is fairly quick (no more than a minute unless I’ve traveled and generated a lot of photos).
It’s a simple setup but it accomplishes exactly what it needs to and was fairly affordable, though I did source a few components for free. If I ran out and purchased these components, the total BOM would work out to around $160, though you could lower the cost by skipping the extension cables, using a different version of the pi, or opting for a DIY enclosure over the project box.
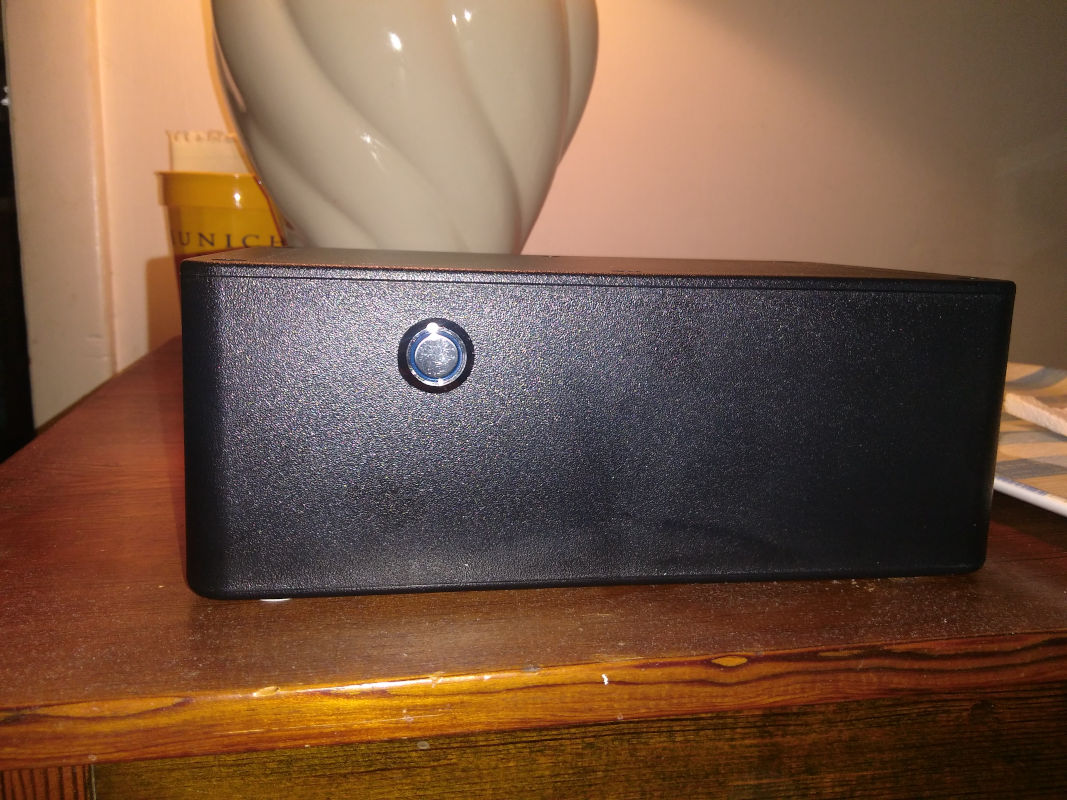
The parts list for this build is outlined below and here is a shot of the final project:
—– Parts List —–⌗
-
Project Box
- Large enough to house your pi, hard drive, and cables
- I bought this one from amazon and the quality was excellent
- In case they stop selling them, this box was sold under the Bud Industries brand and the noted part number was CU-3285
-
On/Off Shim from pimoroni
- This allows you to power the pi on, and after installing their software, gracefully shutdown the pi with the push of a button
- You have to solder on the GPIO header and then it will fit directly onto the GPIO pins of the pi
- I purchased this through Adafruit where it is listed as Product ID 3581
-
Momentary Push Button
- The On/Off Shim has a button built in but accepts an external button as well
- This provides an easy panel mount solution and if you care to wire it up, an integrated status light
- Any momentary push button should work but this is Product ID 481 at Adafruit
-
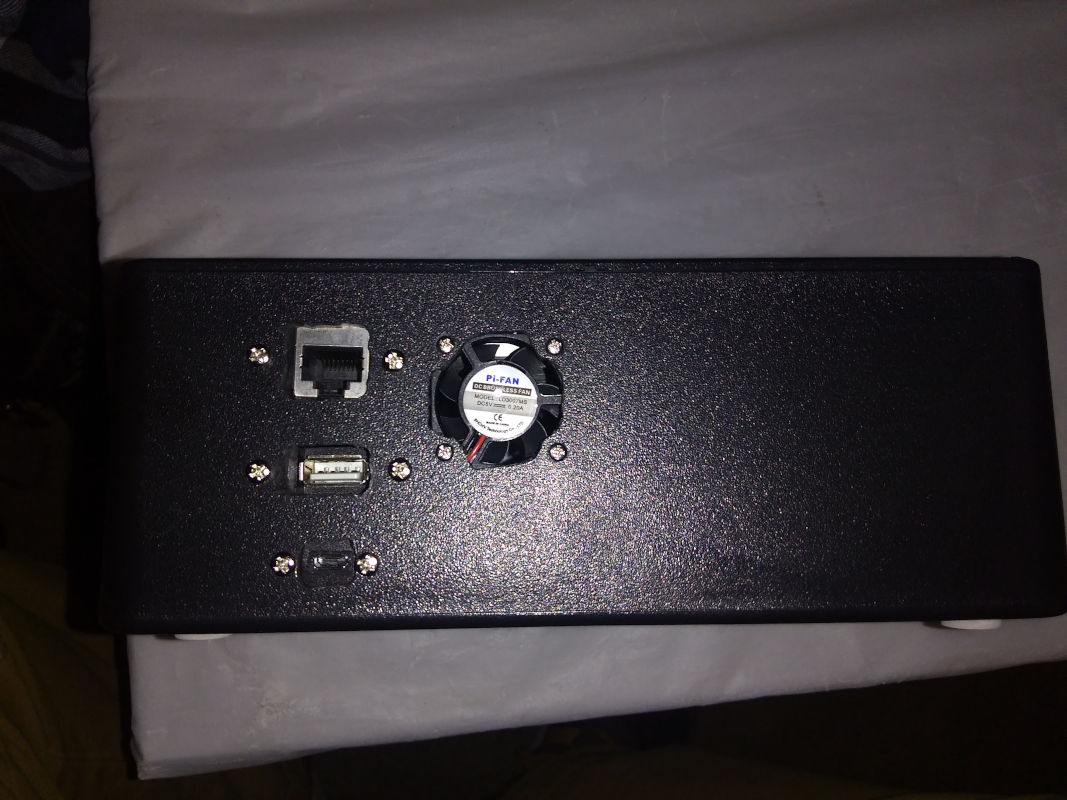
Extension cables for RJ-45, one or more USB A ports, and micro USB
- To access the important ports on the pi, you’ll need to extend the ports to sit flush with the wall of the project box or cut a large enough hole in the project box to feed your wires through
- All three were purchased from Adafuit
- The USB A extension is Product ID 908
- The Micro USB extension is Product ID 3258
- The RJ-45 extension is Product ID 909
- If you want to run this wirelessly and don’t plan to add external USB components, just get the micro USB extender or cut a hole and route your power cable straight through it
-
Raspberry Pi running Raspbian
- I used the Raspberry Pi 3 model B+
- You can use whatever OS you want, just make sure the necessary software listed below is supported
-
Power supply
- The Raspberry Pi Foundation recommends a 5.1V power supply capable of supplying at least 2.5 amps
- A note about power requirements
- I had a few power supplies on hand that were purchased from MicroCenter and I believe they were branded QVS
- With the hard drive and fan in this build, a 3 Amp power supply will serve you well.
-
Storage
- I used a spare 500GB USB hard drive that was on hand but you could use a flash drive, or even use the local storage on your SD card
- Just remember, the SD card you are using in the pi is most likely not made for excessive writes so use it as a last resort or for testing
-
One or more 5V DC fans if you want to add active cooling
- I used these tiny fans which are Product ID 3368 from Adafruit
- This fan will run at full tilt while the pi is powered on (as configured)
- If you want a variable speed fan you’ll have to incorporate that into the build
-
Sacrificial USB cable to power the fan
- Due to the placement of the On/Off Shim, I found it easier to power the fan over USB and not try to solder the fan pins to the shim
-
Dremel for cutting holes in the project box (and safety glasses)
-
Soldering iron and solder
-
Strips of velcro for mounting everything
-
Dust filter material if you want to incorporate that protection
—– Software and Services —–⌗
- An OpenVPN server for connecting your remote system to your local network
- DDNS provider if your local public IP changes frequently
- The OpenVPN client software for your remote machine
- [lvm2] (http://sourceware.org/lvm2) for working with lvm disks
- [udisks2] (https://www.freedesktop.org/wiki/Software/udisks/) for interacting with the remote backup drive
- [cryptsetup] (https://gitlab.com/cryptsetup/cryptsetup) for encrypting and decrypting the remote backup drive
- rsync for syncing the local drive(s) to the remote backup drive
- The On/Off Shim software from pimoroni so you can physically start up and shutdown the pi (install instructions near bottom of product description)
—– A Few Notes —–⌗
- Seed your backup drive locally before you place it offsite, if possible. Especially if you are starting with anything more than a few gigabytes of data. It will be significantly faster than one massive sync across the internet.
- The model of Raspberry Pi that I used can only support 1 Amp through the on board USB ports before requiring a powered hub. To stay under that limit, and because I already had a spare drive on hand, I had to choose a fan wisely. Add up the current draw of your USB peripherals and use a powered hub if you are over 1 Amp (1,000mA).
- The fan will be running constantly (as configured) while the pi is powered on and is noticeable in a moderately loud room. If you want this to be in a room that is used often, consider finding a quiet fan or using passive cooling and add more ventilation to the case.
- Be weary of the temperature the pi hits when you close up the box and run your backups. They automatically throttle down after a certain temperature but it’s going to be a lot smoother, and reliable, if you just avoid overheating in the first place.
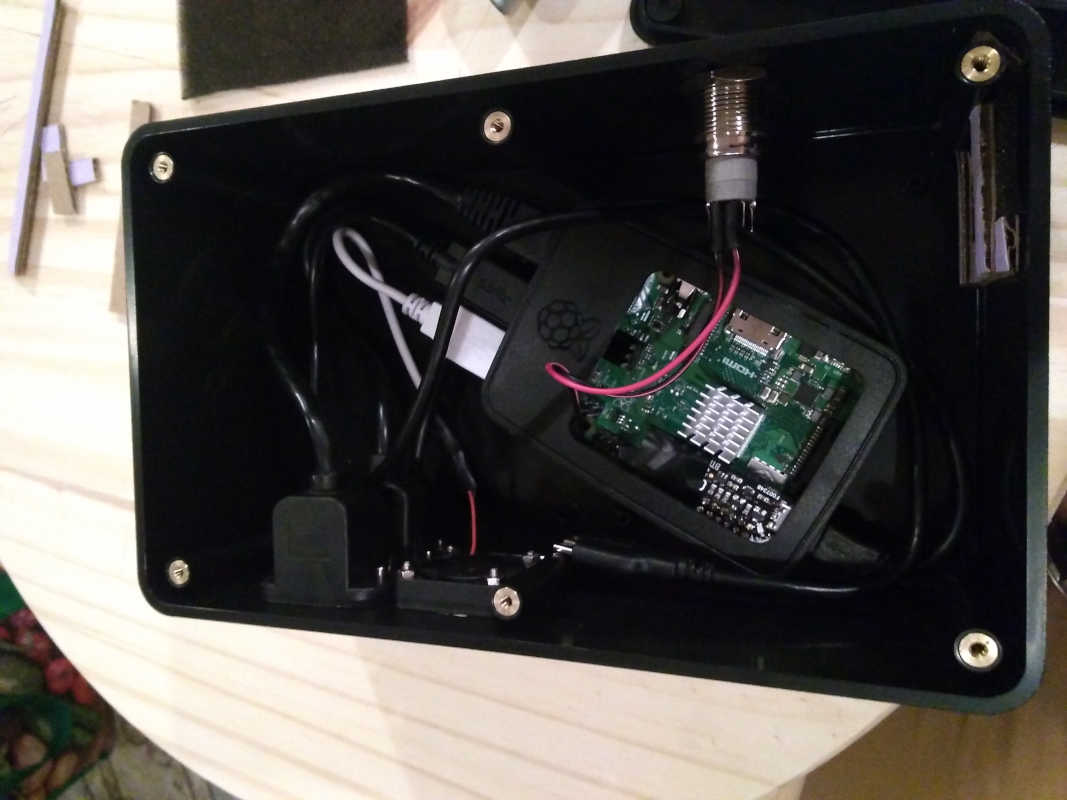
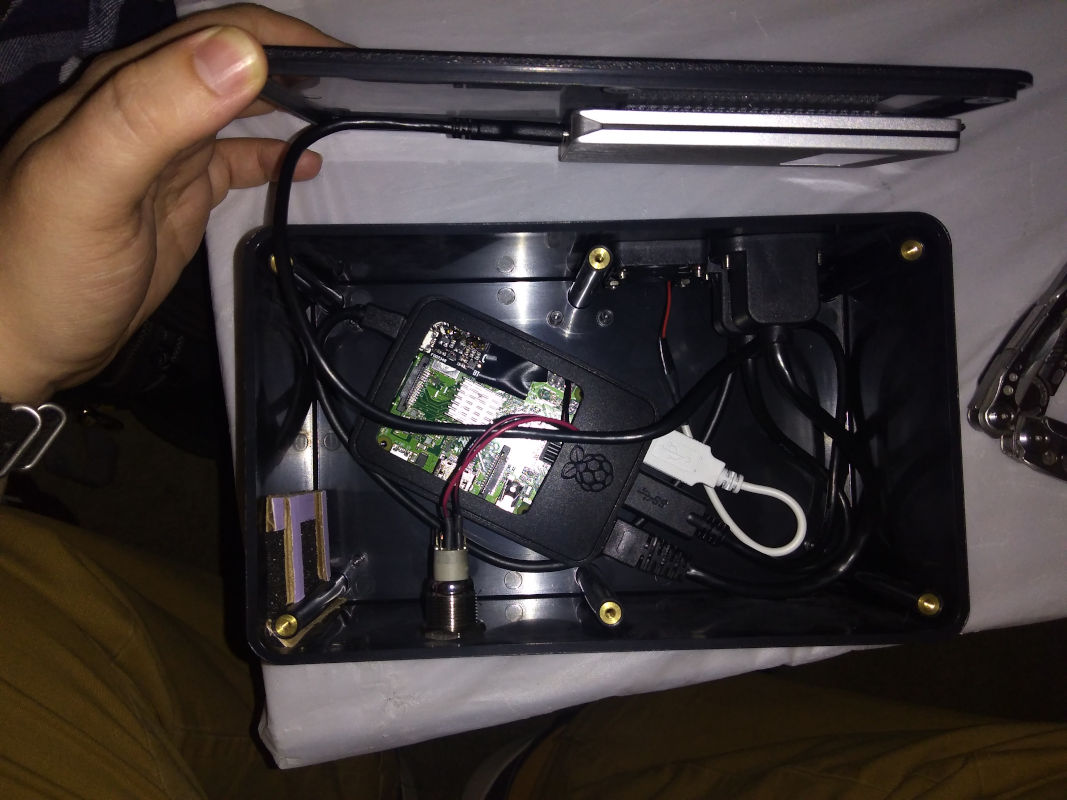
- I was not planning to share in a blog post when I built this so I don’t have any progress photos; only the finished product. Here are a few additional photos of the interior and back panel: